Blog / Custom Bakeware RFQ
How to Measure a Custom Baking Pan for an Accurate Quote
Measure the pan from controlled datums: outside size, inside usable size, depth, rim, radius, cavity geometry, hole pattern, thickness and equipment contact points. Photos are helpful, but a dimensioned drawing is better.
Bakeware China Editorial Team | 2026-08-14 | 7 min read
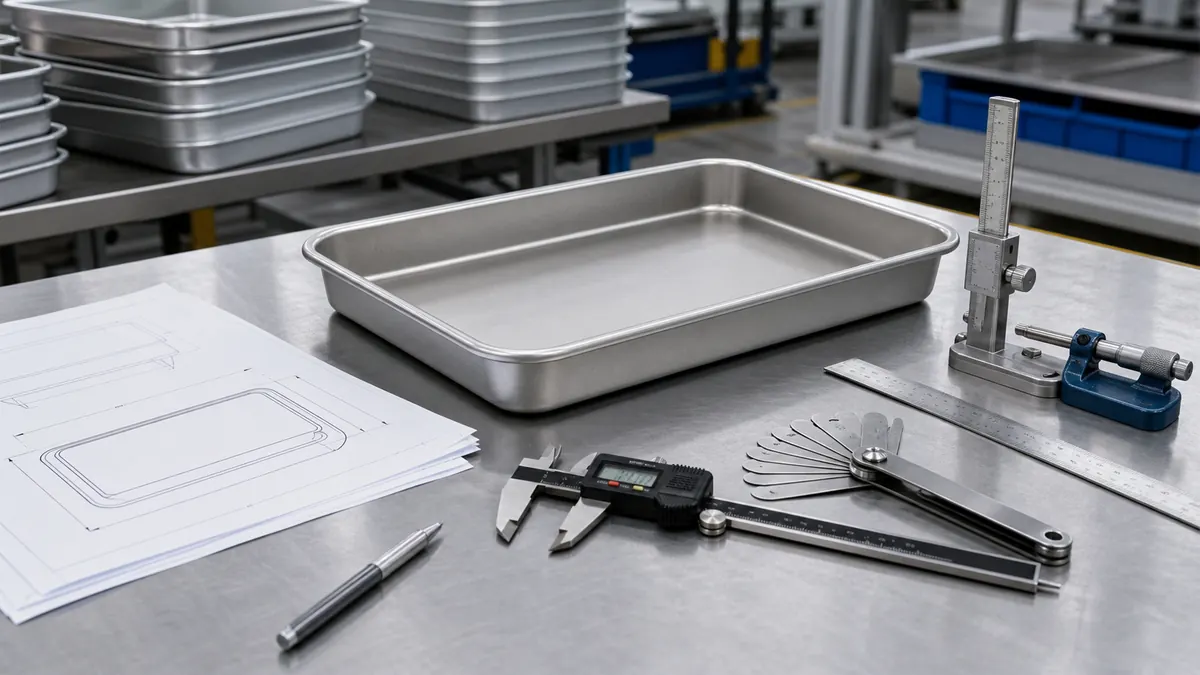
Decide what the pan must fit first
Before measuring, identify what controls the pan: product size, rack runners, oven chain, conveyor, washer, stacker, packaging or existing tooling. The controlling interface determines which dimension matters most.
If an old sample exists, measure it and also explain whether it works well or has problems such as warping, sticking, poor fit or difficult cleaning.
Measure outside dimensions and usable dimensions separately
Outside length and width control equipment fit. Inside or usable surface dimensions control product fit. Do not mix these values in the RFQ.
Measure from a consistent edge or datum and note whether corners are square, rounded, flanged, curled or wired.
Record depth, wall angle and corner radius
For trays, cake pans, loaf pans and molded pans, depth alone is not enough. Add wall angle, top opening, bottom size, inside radius and any transition radius.
For multi-cavity pans, measure cavity count, center-to-center pitch, cavity opening, depth, corner radius and the full pan envelope.
Describe rim and reinforcement details
Measure rim height, bead width, wire diameter if visible, flange width, strap location, handle position and welded or riveted areas. These details affect strength, nesting and equipment fit.
For sheet pans, combine this step with the commercial sheet pan gauge guide.
Map holes, perforation and surface pattern
For perforated pans, record hole shape, hole size, pitch, perforated zone, border width and any solid equipment-contact zones. A close photo is useful, but the supplier still needs dimensions.
For coatings or surface texture, describe the finish and send expected use conditions instead of relying only on color.
Use photos correctly
Take top, side, corner, bottom, rim and close-up photos with a ruler in the frame. Add one photo showing the pan in the rack, oven, conveyor or washer if fit is important.
Photos should support the drawing, not replace it. If a drawing is not available, mark dimensions on a sketch and list tolerances or fit problems.
Send a complete measurement package
A complete package includes drawing or sketch, measured sample photos, material or magnet result, thickness, coating, current problems, quantity, destination, packaging and target schedule.
Use the bakeware RFQ template to turn these measurements into a supplier-ready request.
Custom Baking Pan Measurement Checklist
| Measurement | Why it matters | How to send it |
| Outside size | Rack and equipment fit | Drawing or marked photo |
| Inside size | Product fit | Dimensioned sketch |
| Depth and radius | Shape and capacity | Section view or close photo |
| Rim and holes | Strength and handling | Detail photo plus dimensions |
Frequently asked questions
Should I measure inside or outside dimensions?
Measure both. Outside dimensions control equipment fit, while inside or usable dimensions control the product.
How do I measure a pan with rounded corners?
Record straight length and width, corner radius and where the radius starts. A photo with a ruler helps confirm the shape.
Can a supplier quote from photos only?
Sometimes for a rough estimate, but accurate production needs a drawing or dimensioned sketch with tolerances and use conditions.
What if my existing sample is damaged?
Measure it anyway, then explain the damage and desired correction. If possible, measure more than one sample.
Request a specification review
Preparing a custom pan inquiry? Send outside size, inside size, depth, rim details, photos, material, coating need, quantity and destination for a quote review. Use our inquiry form.