
Flat Baking Trays
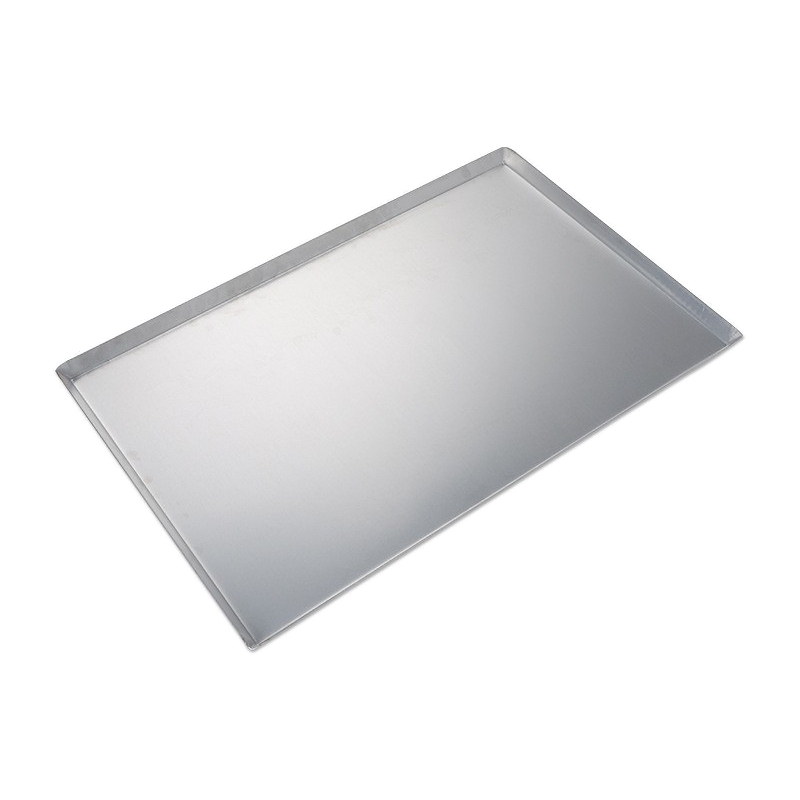
Flat baking trays are used when the buyer needs an open tray surface, controlled footprint and practical loading or transfer behavior without a prominent raised rim.
Product Overview
A flat tray specification should focus on the usable surface, outside dimensions, edge detail, flatness expectations and the way products are loaded, moved and removed in the bakery workflow.
Specifications
| Product configuration | Flat commercial baking tray |
| Tray footprint | Custom to oven, rack, trolley or loading system |
| Edge detail | Custom low edge, flat edge or buyer-specified profile |
| Material options | Aluminum, aluminized steel, carbon steel or stainless steel |
| Surface design | Solid surface, perforated surface or project-specific surface design |
| Coating options | Natural, non-stick, silicone or color coating |
Materials
For flat trays, the material decision is tied to tray footprint and the way the open surface is handled. Buyers should review whether the tray is hand-loaded, slid into racks, moved through equipment or used as a production carrier, then choose material and thickness targets through that workflow.
For tray thickness decisions, use the commercial sheet pan gauge guide together with your loading and handling requirements.
Surface and Coating Options
The flat working surface should be described by usable area, solid or perforated design and any zones that contact products or equipment. Coating can be reviewed where release is needed, but the key issue is whether the open surface remains practical for loading and unloading.
Construction and Design
Flat tray construction is mostly about footprint discipline: outside length and width, usable surface, edge detail, corner treatment and whether any lip or return would interfere with product transfer. A drawing should show which dimension is critical for the bakery line.
Customization Options
Customization should identify the tray path through production: loading table, rack, oven, trolley, freezer or washing step. That route determines which outside dimensions, edge details and surface zones must remain controlled.
Applications
Flat baking trays suit buyers who prioritize open loading, direct product placement, transfer from tables or belts, and tray dimensions that must fit a defined production workflow.
How to Specify This Sheet Pan
Measure both the maximum outside envelope and the usable flat area. If the tray is loaded by equipment, include the loading direction and any stop, guide or clearance point that the tray must pass.
Frequently Asked Questions
How should usable footprint be measured?
Measure the area available for product placement separately from the outside tray dimensions. If any edge detail reduces usable area, note it on the drawing.
What should I explain about loading and unloading?
State whether products are placed by hand, moved from a table, transferred from equipment or removed by sliding. This affects edge and surface decisions.
Does a flat tray mean no edge at all?
Not necessarily. Some flat tray projects still require a low edge or finished perimeter, so the edge-free or low-edge requirement should be stated clearly.
What production details help prevent tray-fit problems?
Provide rack opening, oven clearance, loading direction, trolley or equipment contact points and any areas where the tray must slide without catching.
Related Sheet Pans
Request a Custom Quote
For a flat baking tray RFQ, send outside size, usable flat area, loading direction, edge-free or low-edge requirement, material preference, surface finish, coating or perforation need and the equipment route the tray must follow.